Why PPAP Welding Matters
The Production Part Approval Process (PPAP), part of Advanced Product Quality Planning (APQP), is used across the automotive industry and wider manufacturing to prove a supplier can consistently make parts that meet requirements at full production volume. In welding, PPAP is the bridge between a promising initial process and approved serial supply - showing that your processes, documentation, and control deliver the same high‑quality welds every time.
Olympus Technologies helps manufacturers achieve PPAP‑ready robotic and cobot welding: defined process flow, a robust control plan, automated data capture, and the evidence pack customers expect during part submission and PSW sign‑off.
Contact Olympus Technologies to discuss a PPAP welding solution or book an on‑site demonstration.
What Is PPAP in Manufacturing?
PPAP is a structured quality methodology within APQP used to demonstrate that a new or changed design can be made to specification under real production conditions. For welding, PPAP proves that materials, parameters, fixtures, inspection, and automation systems work together to deliver stable, traceable results.
Purpose of PPAP welding
- Establish shared expectations on quality assurance, documentation, and readiness.
- Ensure samples are representative of the final production process.
- Reduce rework by detecting process flow gaps, dimensional variation, and risk early.
- Provide customers with clear information for review and engineering approval.
The Part Submission Warrant (PSW)
The Part Submission Warrant is the signature page of the part submission. It confirms that:
- All engineering and performance requirements are met.
- Submitted samples reflect full production settings.
- Any engineering change or appearance approval requests are correctly recorded.
Olympus builds the PPAP submission evidence so your PSW is a formality - not a hurdle.
PPAP Elements: What to Include for Welding
A standard PPAP package contains 18 core elements. For welded assemblies, the following are especially key:
- Design records (drawings, CAD, specifications).
- Authorised engineering change documents (where used).
- Engineering approval (when required by the customer).
- DFMEA (where design responsibility applies).
- Process flow diagram (welding, handling, inspection).
- PFMEA (process failure mode and effects analysis).
- Control plan (see below).
- Measurement System Analysis (MSA, gauge studies).
- Dimensional results (feature checks, measurement reports).
- Material and performance test records (e.g., coupons, NDT, destructive tests).
- Initial process capability studies (e.g., Cp/Cpk where defined).
- Qualified laboratory documentation (where applicable).
- Appearance approval report (if finish is specified).
- Sample production parts (customer‑retained master sample).
- Master sample retained by supplier for reference.
- Checking aids (gauges, fixtures) with calibration records.
- Customer‑specific requirements.
- PSW (Part Submission Warrant).
We can help compile the full set of documents to match your customer’s level of submission and format requirements.
PPAP Submission Levels (1-5)
Depending on risk and customer requirements, PPAP has five levels of submission:
- Level 1 – PSW only.
- Level 2 – PSW plus limited supporting documents.
- Level 3 – Full PPAP package (typically required in the automotive sector): control plan, process flow, FMEA, dimensional results, samples, and checking aids.
- Level 4 – Custom package defined by the customer.
- Level 5 – Full documentation plus on‑site engineering approval/process audit at the supplier.
For safety‑critical welded parts, Level 3 to Level 5 is often required to demonstrate stable performance and compliance.
What a Welding Control Plan Should Include
The control plan is the heart of PPAP welding. It describes how the process will be controlled, monitored, and improved over time.
Include:
- Welding parameters: current, voltage, wire feed, shielding gas, travel speed, heat input.
- Inspection methods: visual, NDT (e.g., PT/MT/UT), macro‑etch, tensile/bend tests.
- Equipment and robot calibration schedules; torch and fixture maintenance.
- Reaction plans for non‑conformance, rework, and change control.
- Data logging and report routines tying welds to serial numbers and operators.
- Alignment to standards such as BS EN ISO 15614 and ISO 9606.
Olympus cobot and robotic welding cells provide parameter logging and automatic report outputs - making control and analysis straightforward.
How Olympus Technologies Accelerates PPAP Welding
Designed for approval, built for production
- Defined process flow: we map the welding system from material receipt to final inspection, ensuring nothing is missed in the PPAP elements.
- Rapid programming & changeover: ideal for cobots handling new variants and engineering change requests.
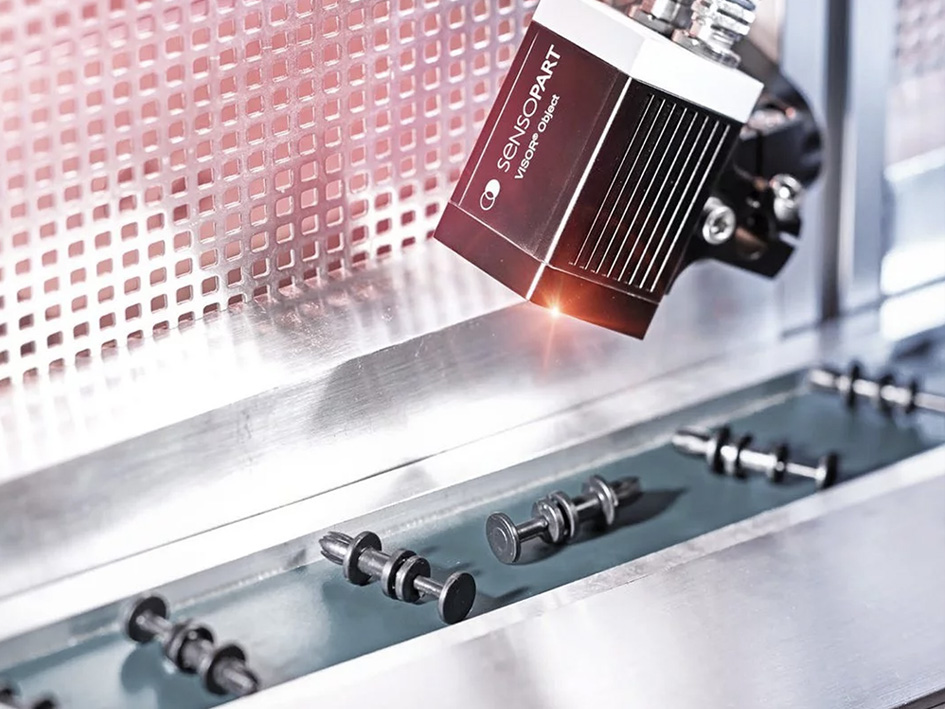
- Data by default: automatic capture of weld parameters, cycle times, arc‑on time, deposition and performance information - ready for review.
- Checking aids and fixturing: we supply or validate checking aids and fixtures with calibration records.
- Evidence pack creation: dimensional results, material certificates, MSA, capability analysis, appearance approval evidence (where required), and the final PSW.
- Training & handover: operators and quality teams learn the processes that keep your line PPAP‑compliant.
Typical outcomes
- Faster part submission and fewer customer queries.
- Lower variation and reduced scrap/rework.
- Clear traceability from samples to final supply.
Managing PPAP Day‑to‑Day: Best Practice
- Build a realistic timeline for submission, review, and sign‑off.
- Assign clear ownership for records, measurement data, and weld reports.
- Run internal audits against the control plan and process flow.
- Use live data to trigger corrective action - not just to complete a package.
- Keep a current master sample and maintain checking aids calibration.
Treat PPAP as a living system for quality assurance, not a one‑off documents dump.
FAQs
What documents are required for a PPAP submission in welding?
A typical PPAP submission includes design records, authorised engineering change documents, process flow, FMEA, control plan, dimensional results, material/performance test records, MSA, capability studies, checking aids, master sample, appearance approval (if applicable), and the PSW. The exact level determines which items must be submitted.
How does the control plan support quality assurance in welding?
The control plan defines how welding processes are controlled and verified - parameters, inspection, calibration, reaction plans, and report outputs - so you can ensure consistent results in serial production.
Why is the Part Submission Warrant critical?
The PSW is the customer’s confirmation that the supplier has met all requirements with representative samples under real production conditions. It closes the loop on part submission.
When is Level 3 typically required?
Level 3 is the default in many automotive and safety‑critical applications, where the customer wants the full PPAP package for detailed review before approval.
What about Level 1, Level 2, Level 4 and Level 5?
- Level 1: PSW only, used for very low‑risk changes.
- Level 2: PSW + limited documents, often for simple updates.
- Level 4: A tailored package defined by the customer.
- Level 5: Full package plus on‑site engineering approval/process audit.
Next Steps: Get PPAP‑Ready Welding with Cobots
Whether you’re preparing a new part submission or improving an existing line, Olympus can deliver a PPAP‑ready welding system that shortens approval lead‑time and strengthens ongoing quality assurance.
- Book a PPAP Welding Assessment: gap analysis of your current processes and documentation.
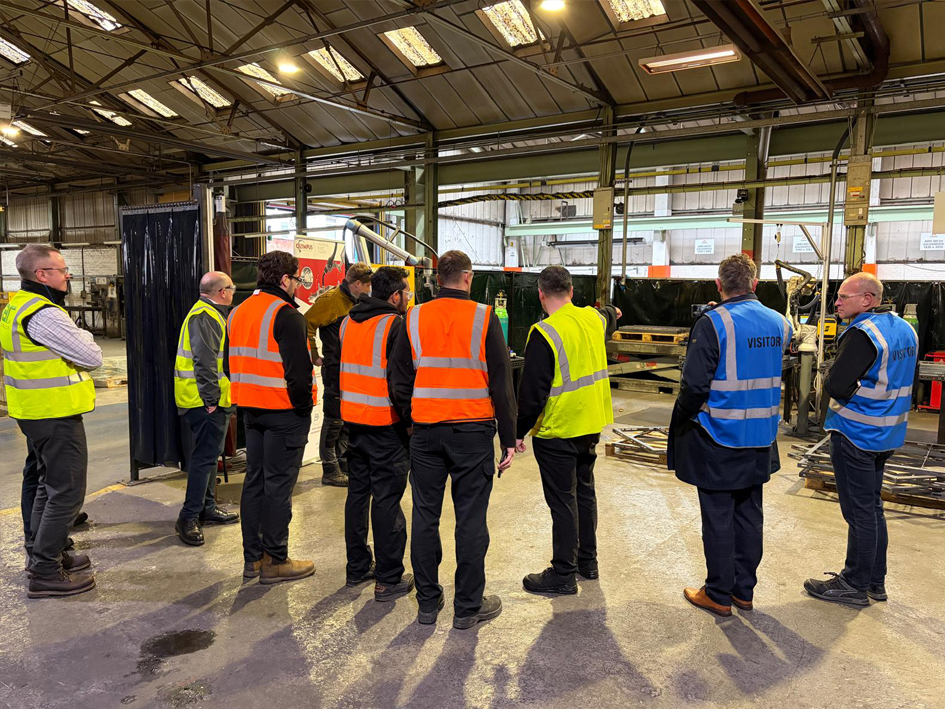
- Arrange a cobot welding demonstration: see parameter control, data capture, and report generation live.
- Request our PPAP Welding Checklist: the practical list of required evidence and PPAP elements for your next audit.
Contact Olympus Technologies to start your PPAP welding project.


